General
General
The Coordinates Editor Window will auto-populate with data from your Design. Here you can add/edit the exact location of multiple items all at the same time. New Poles, Anchors and Buildings can be added at specific locations at the same time in this Window by selecting the item type and pressing the "Add" button. This feature is particularly useful when you have surveyed data with Northing, Easting and Elevation (optional) values. If you have a Datum defined, you can enter a decimal value for Latitude and Longitude as well, which will be used to calculate the equivalent Northing and Easting values.
Anchor locations are normally entered here only if your survey data is captured with sufficient accuracy. It would be typical for anchor accuracy requirements to be within a few centimeters (1-2 inches), while pole locations could be less: 10-30 centimeters (4-12 inches).
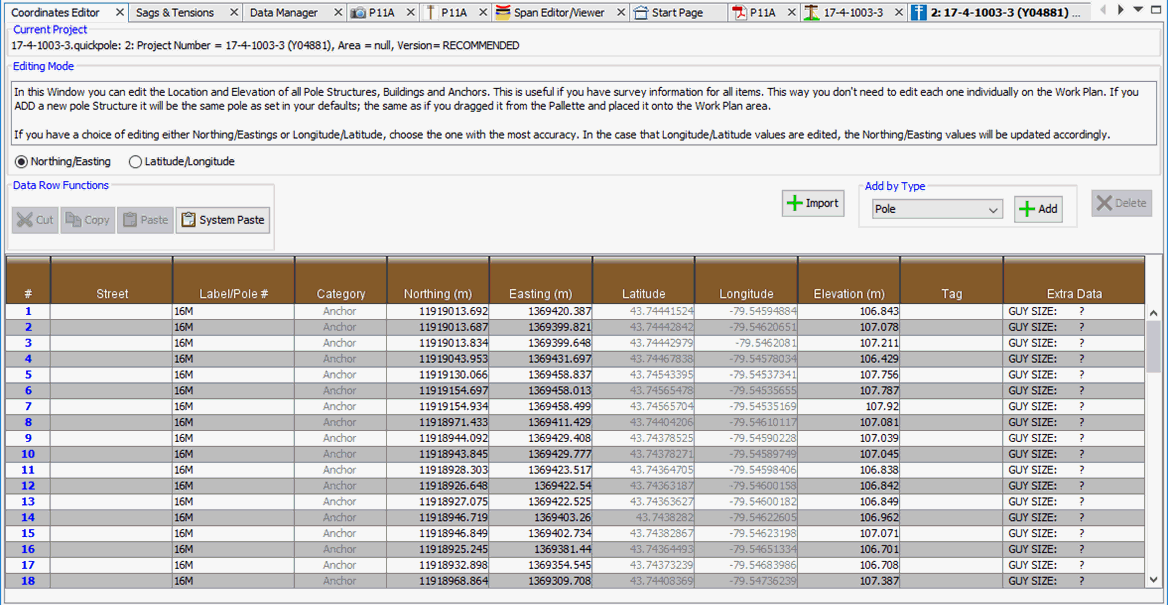
There are two Edit Modes ; either by Northing/Easting values or by Longitude/Latitude. The different modes will control which fields can be edited. You can change modes, if necessary, during your editing process to edit different items different ways.
Elevation measurements should be taken at the ground line as close as practical to the item being measured. If a pole is installed on sloping ground, the elevation measurement should be taken from the lowest side of the pole. This best estimates the amount of soil holding the pole. All attachment height measurements should be measured from the same point that the elevations were taken from. For Quick Pole purposes, all elevation measurements should be based on the same fundamental assumptions, such as "elevation above sea level", or any other point. For calculation purposes, Quick Pole will only be looking at the difference between elevation measurements of different items within your Design to determine what it needs to calculate.
Anchor locations should be measured at the point where guy wires would attach to the anchor rod. This should be above the ground surface. When you are done entering data in this Dialog, you can then go to the nearest pole on the Work Plan to this anchor to attach guy wires between them using the Structure Window.
Pole locations are meant to be the absolute center of the pole, so surveyors may need to add the radius of the pole to their measurements when their measuring device is against the pole. The file import method permits two locations (Pole Face and Pole Back) to be recorded for Quick Pole to average for this center point (discussed later).
As each item is added, they will be added immediately to the Work Plan View in roughly the center of the plan. Their exact location will be adjusted after you enter the correct coordinates.
If you have many items to add, you can use the Import button to import KML/KMZ or CSV formatted files.
Cut, Copy and Paste buttons operate on rows in the Table. These features can be used within one project or between two projects. For example, if you wanted to Copy poles from one project and paste in another you would copy the poles in the table you wish, open another project, Design and Work Plan; then go back to the Coordinates Editor Window and press the Paste Button.
The System Paste Button allows you to edit project data in another editor (such as MS Excel), press copy in that program when you are done and then Paste into the current project using the System Paste Button. The most common usage is to copy all many rows of a current project, modify them in Excel and then Paste them back in this manner. This has been tested with MS Excel, but may work with others as well. MS Excel puts a well formatted copy of the rows onto the System Clipboard for pasting. For this to work, you must have at least the first six columns of Data in Excel to copy.
Import KML file
Adding Poles to a Quick Pole Project is often one of the first activities when beginning a new project. Quick Pole needs to know where poles are in relation to each other in order to calculate span lengths and angles properly. This also needs to happen before any attachments can be added to the spans.
There are a couple possible ways you may be able to provide Quick Pole with this information electronically.
The first way is from surveys that have been collected in the field with instruments of reasonable accuracy. These devices can export their collected data in various formats, including KML or KMZ.
The second way is from an export from a corporate GIS system that is used to manage pole assets. As each GIS system has specific techniques to do this, we direct you to your GIS support person to assist with the extract. Once extracted, Quick Pole can import the poles, anchors and/or building (service) locations.
Please be aware that many GIS systems record locations with low accuracy. However, the data can still be imported and then adjusted for your project if you combine it with field data you have collected for span lengths and line angles (covered later).
Three different KML file formats are supported:
- KML file (usually provided as KMZ) with separate folders in the data for different item types (Poles, Anchors, Buildings, Signs...)
- KML file with one Folder of Data with the type of Data provided in the Name field.
- KML file with no Folders of Data but with multiple Placemarkers containing poles. The pole number is in the name of the Placemarker field.
KML Import Process
A KMZ file is simply a KML file that is compressed; like a zip file. Quick Pole can read either file format. For ease of use with some GIS systems, Quick Pole also accepts zip files containing the same type of data.
Quick Pole has an Import feature that can be accessed from the Main Menu via File->Create Project from Data… This will bring up the Import Data Wizard:
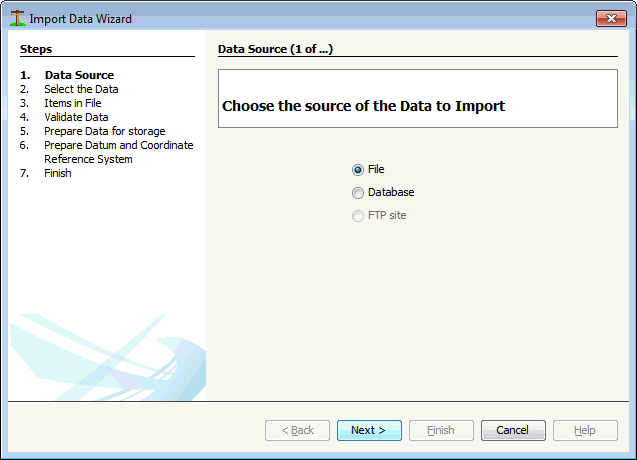
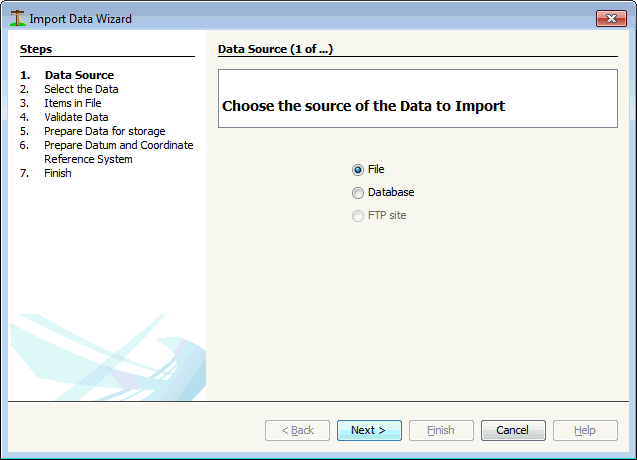
Select the “File” option and then press “Next” to go to the next step in the process.
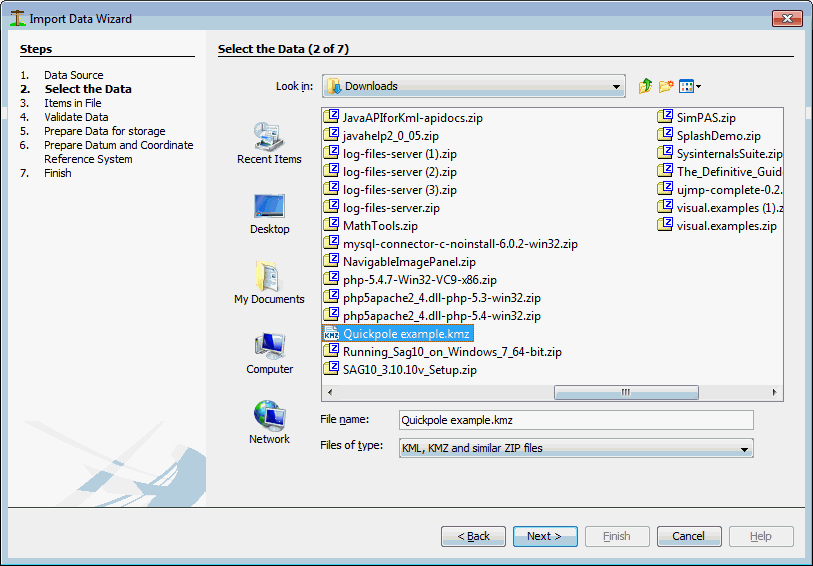 Select the file you want to Import and Press “Next”. After it looks in the file, it discovers the content within.
 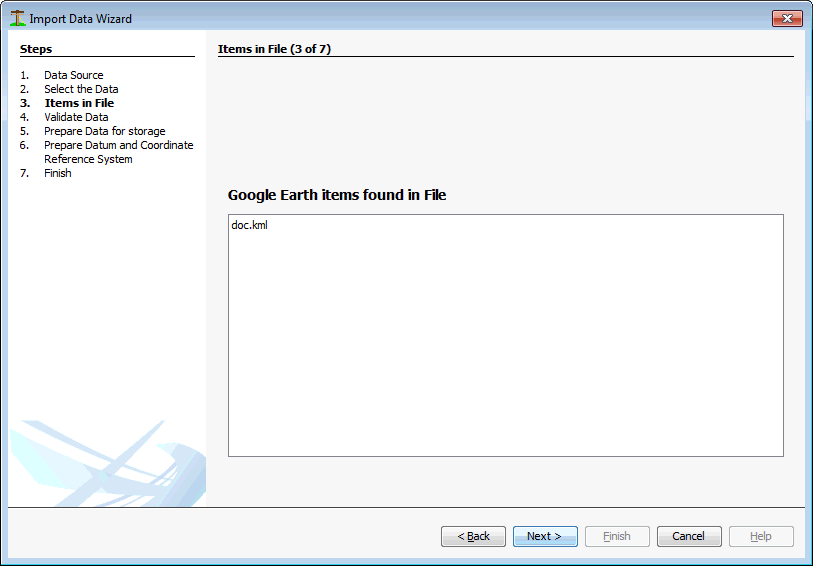 Press “Next” to continue. Now Quick Pole looks through the data even deeper and will discover multiple data folders, if they exist. Each type of item in the file is expected to be in a different folder. All we need to do is to tell Quick Pole which folders correspond to what we are looking for (Poles, anchors or Buildings).
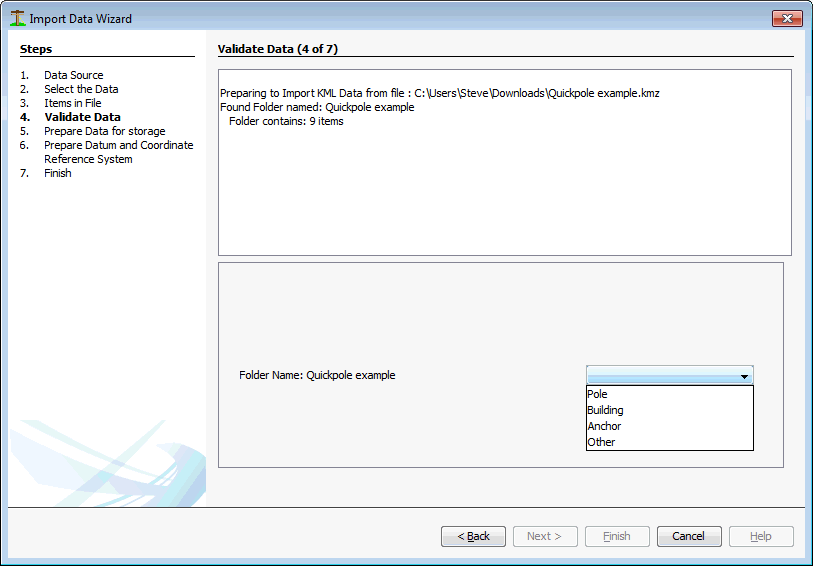
For each folder shown in this screen, you need to assign it to one of the categories in the drop-down list. The category of “Other” is there to tell Quick Pole that it can ignore that particular item.
There are two items to choose from for poles (Pole and Pole Edge). If your survey technique includes recording two points on different sides of the pole, you can use one item of each type per pole and Quick Pole will automatically calculate the absolute center of the actual pole.
Assign each folder to a category and then press “Next”. Please note that you should have at least one folder assigned to the category of “Pole”. This example has only one folder, but your GIS system many generate several. The next screen will confirm to you the folder settings you have selected. 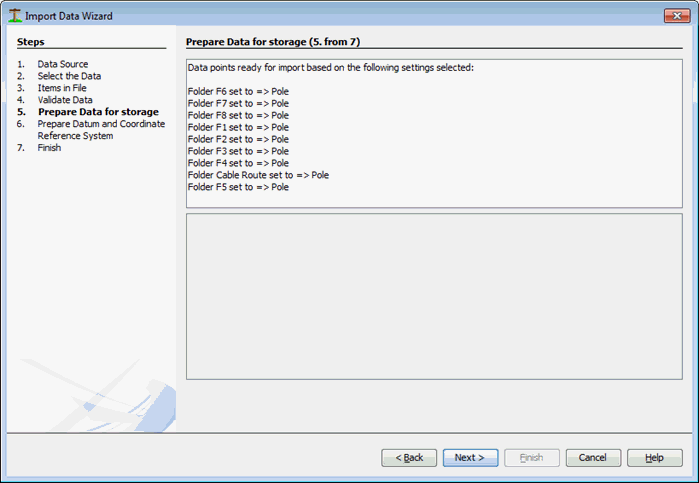
One benefit of using the KML format for GIS coordinates is that all data uses a standard reference Datum (WGS-84). This is how Google Earth defined the format initially.
Quick Pole is able to use this same reference Datum, or any other of your choosing. In this next screen you must choose what your project will use.
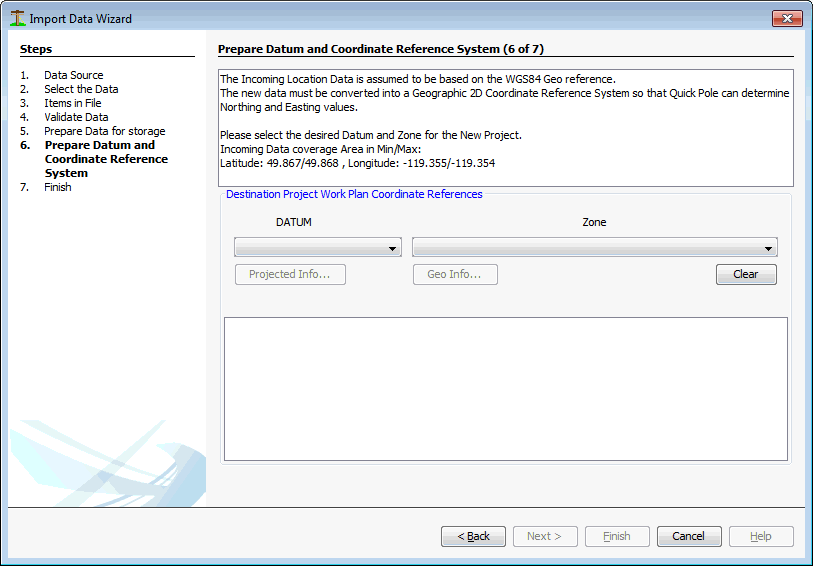 GIS coordinates (using longitude and latitude degrees), based on any Datum, need to also be referenced to a Zone for use in Quick Pole. The Zone is used on many printed maps and helps make the connection between degree coordinates and distance measurements (Northings/Eastings) possible. Choose the new Datum and Zone that best fits the needs of your organization. If unsure which is best, keep it at WGS-84 and select your zone based on your knowledge of the area or via an Internet map search. Once selected, the screen will show you the defined bounds of what your selection represents. It provides these bounds both in longitude and latitude degrees, plus Northing and Easting values. You should review this to confirm that it makes sense to the area of your project. The below example did not select a valid choice, but it does give you hints as to the area covered by both the data and the Datum/Zone.
 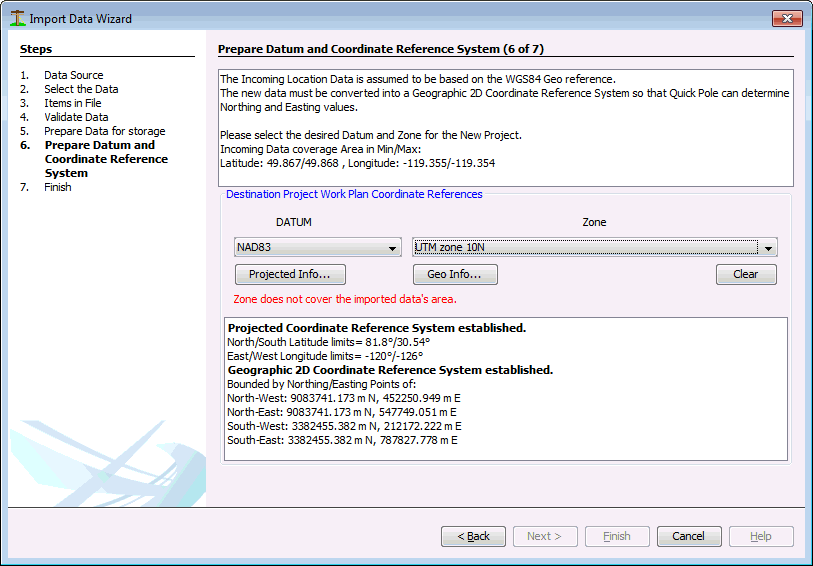 Quick Pole will not continue with the Import until this results in a valid match. Once complete, it will display a summary of the Import results so that you know what and how many items have been imported.
 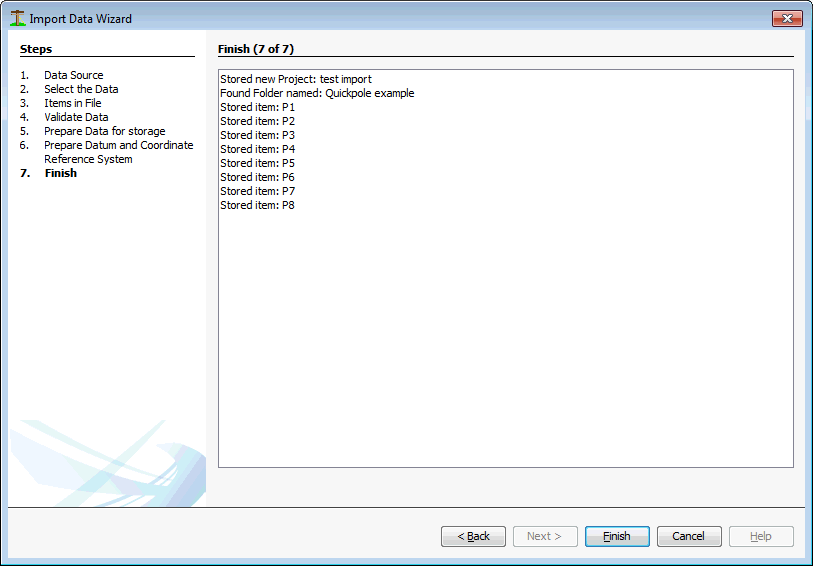 Press “Finish” to close out this wizard. The project will be imported and added to the list of available projects, but it will not open automatically.
Import CSV File
Another Popular file format is "comma separated value" files with field data. The process is very similar to importing KML files, starting by pressing the Import Button in the Coordinates Editor Window.
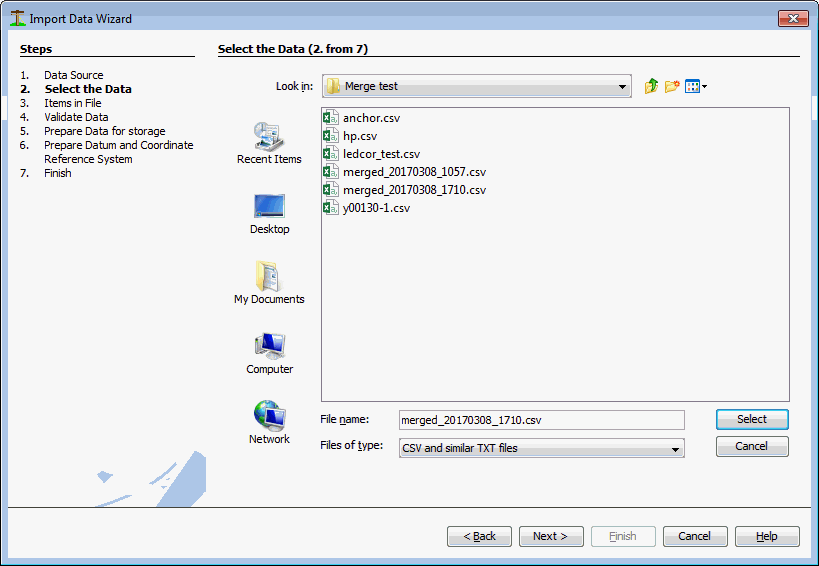
Start by finding the CSV file you would like to Import:
The following minimum requirements exist for these types of files:
- The first row in the file must be a row header, identifying the fieldnames for values in the following row
- FieldNames
- "Name" - an Integer number identifying the specific item.
- "North" - Northing coordinate
- "East" - Easting Coordinate
- "Elevation" - Elevation
- "Code" - recognized values are "HP" for pole, "Anchor" for anchor.
- "Pole_" - pole number
- "Pole_typ" - pole type. Wood, Concrete and Steel are recognized with Wood as the default
- "Year" - Year of pole manufacture. Format example=1987
- "Height" - Pole height in feet
- "Class" - Pole Class
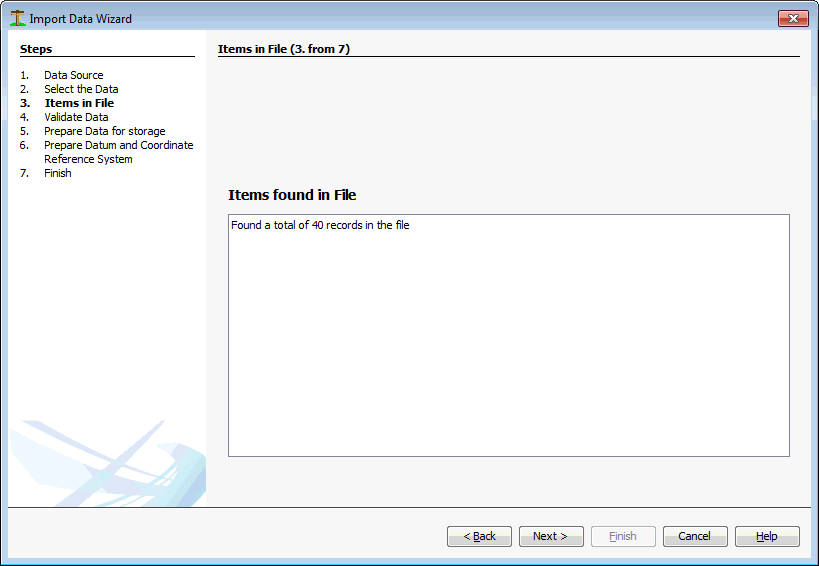
The next step in the process reviews the file and determines how many records are present.
The next two steps are similar to importing KML files.
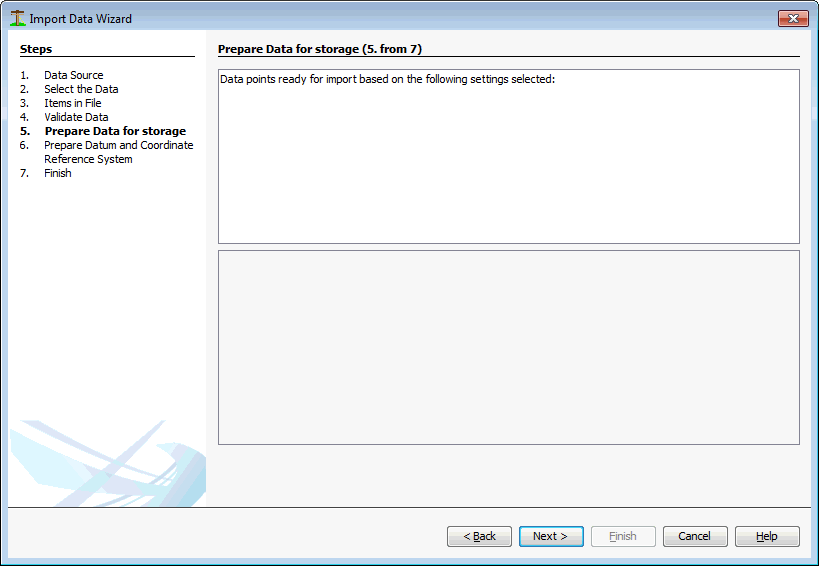
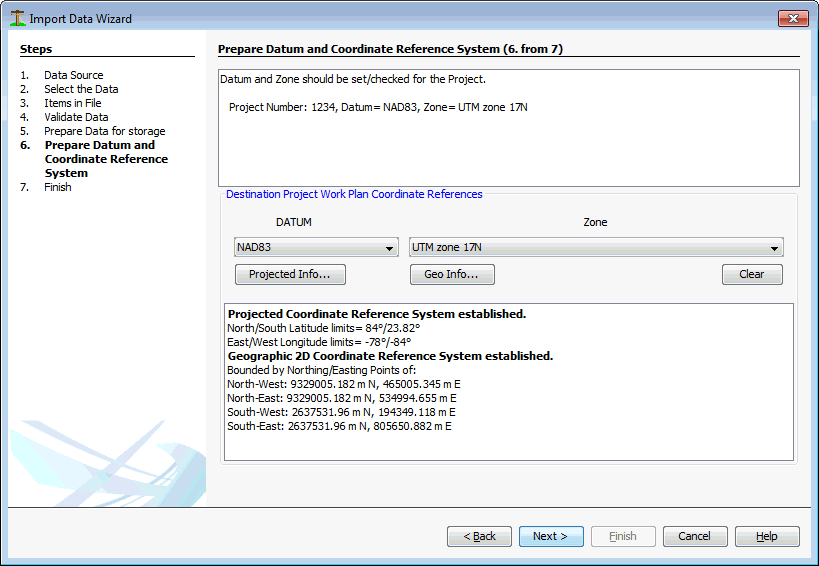
At the final step we get confirmation of what has been imported from the file:
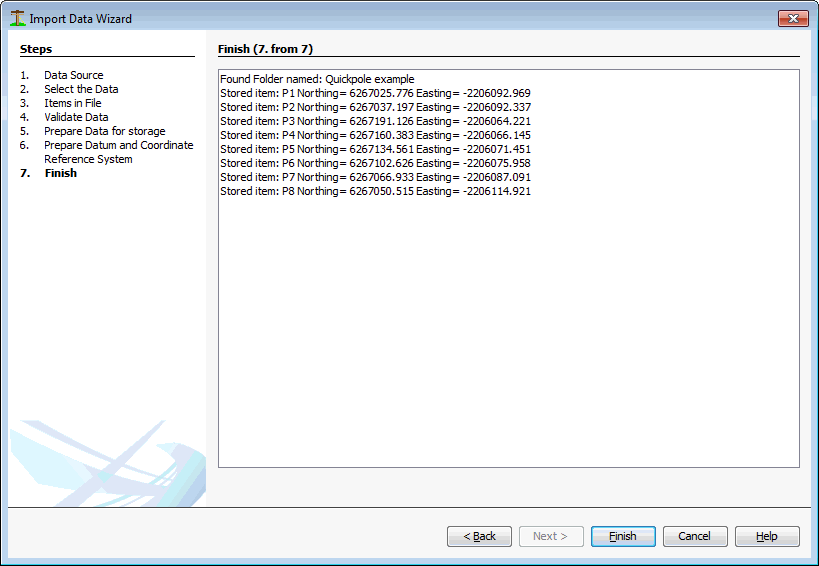
All entries should be visible once you press "Finish".
Import via Database Connectivity
Quick Pole has the ability to reach into other databases that you have access, to build a new Quick Pole project. For instance, your organization may have collected Field Data electronically and has stored it in a Database for all to access.
Quick Pole will expect tables in the database of choice to be multi-level (or hierarchical). That is to say that one table will have project information, linked to a table of structures, linked to possibly a table of pole elements (optional). IT staff can make existing tables have a “View” that looks more like what Quick Pole is looking for; if it doesn’t exist already.
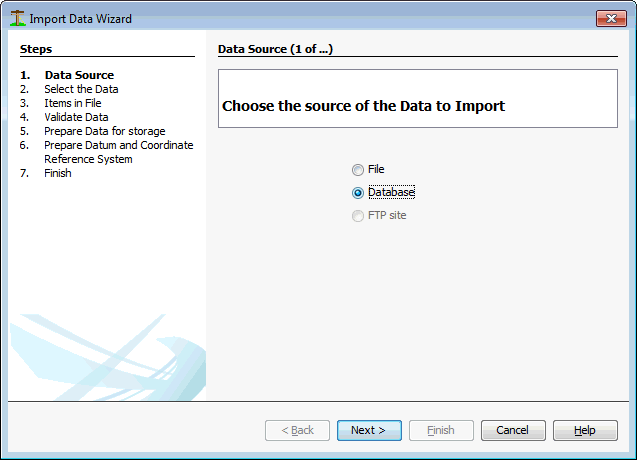
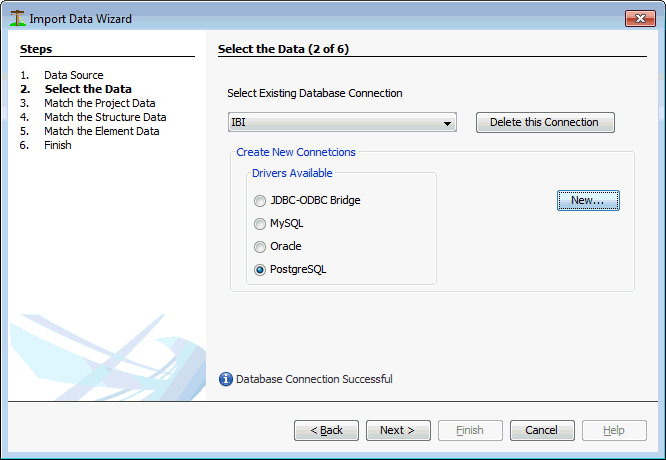
Select the “Database” option and then press “Next” to continue.
The first step in Importing Data from a Database is to establish a connection. Once a connection is made, you can give it a name so that you can select it the next time from the drop-down list.
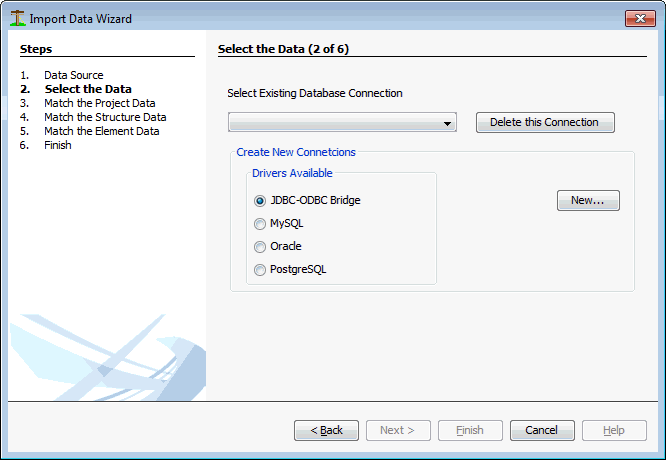
There are four different major databases that are currently supported. If have a need for a different one, let Sonideft know and we can probably add it for you.
Select the one that is the appropriate and press the "New..." button to establish a new connection. Once you create a connection, it will be remembered by the name you assign to it later.
Each type of Database will require similar information in order to make a good connection to the database. Consult with your IT support person that is knowledgeable about the database you want to connect with. Once you have entered in all the required parameters, press the “Test Connection” button to ensure everything will work for you. 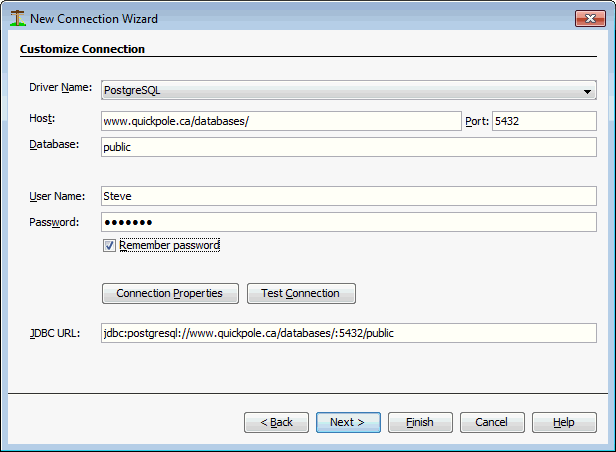 Some Database choices will further require you to choose the desired Database Schema. Choose the most appropriate one (if there is more than one) and then press “Next” to continue.
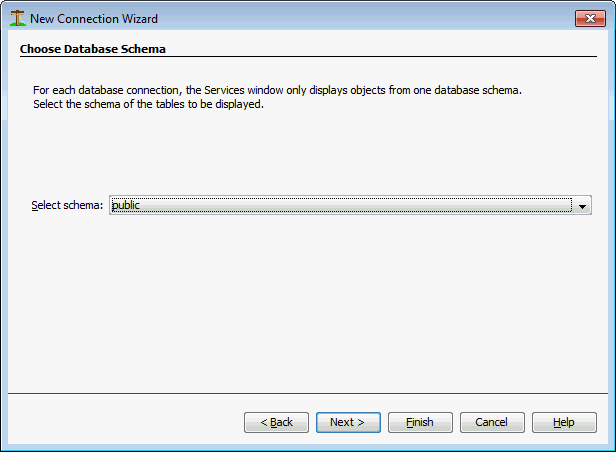
The very next screen will ask for you to name this connection, in terms that is easy for you to remember.
It will pre- populate this field with something that is not very user-friendly, so please change it to something you will recognize in the future.
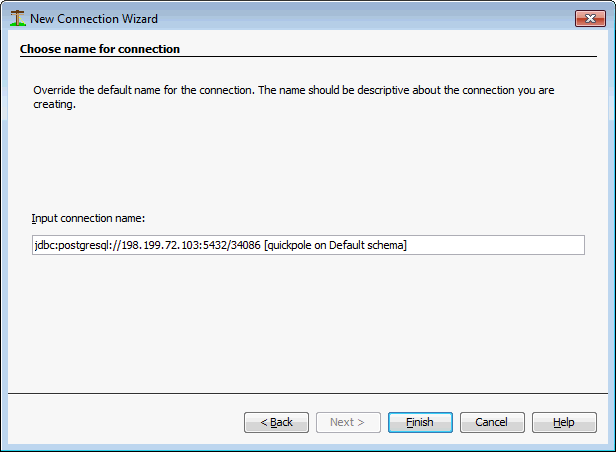 After you change the name, press “Finish” to continue. You will then be brought back to step 2. You can now select the connection you just created and then press “Next”.
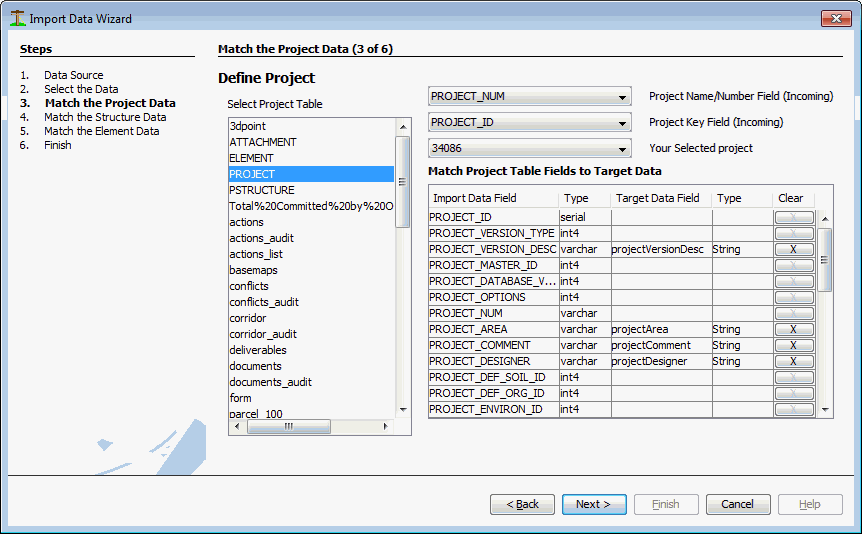
  The next step establishes a connection to the database and retrieves a list of tables in the selected schema. In this step you need to select the table that contains information about the project itself. Its name and perhaps many other attributes.
  Click on the Project related table on the left and the fields available in this table will appear to the right. In this step you need to set/select the following mandatory fields:
- Project Name or Number
- Project table record/ID (identifier for the record in the project table)
- Your selected Project. If you selected the proper project name/number field, the "selected project" drop down will be populated with a list of available projects to import.
You can now also select additional fields to set based on the incoming data for the new Quick Pole project.
Here is an example of what it might look like at the completion of this step:
 Pressing Next brings you the next step, which is to import Structure Data. Structures in Quick Pole represent poles, anchors and buildings.
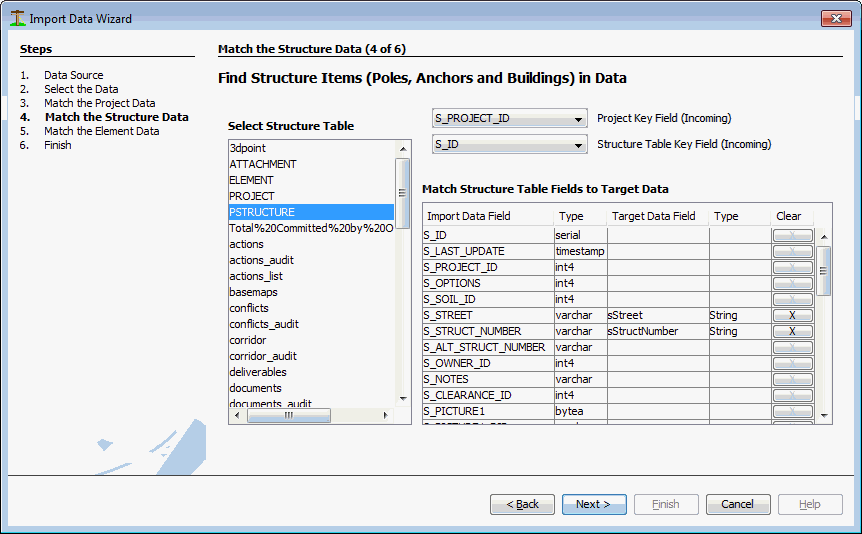
For this step it is important to identify the key identifier for each record in this table (structure key) and the identifier for the parent (project) table. This will enable an import, but you should identify the proper fields for at least the Structure name and the Structure type for a meaningful import. The more fields you import, the more meaningful will be the end result.
Press “Next” to continue.
The next step does a similar function at Quick Pole's element level. Pole structures can include more than pole, which is called an element. 
This level may or may not be present in your database, which is why there is a checkbox at the top enabling defaults to be assumed for all pole structures. In order to set the length of a pole that is different than the default setting, you will need to import data at this table level.
Pressing “Next” will take all of the setting supplied to drive the importation process.
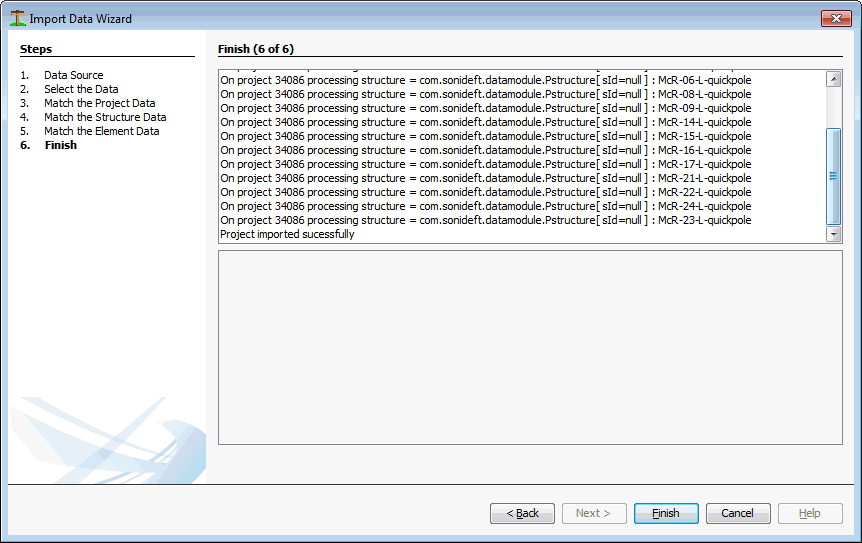 This last screen is informational to tell you about the success or failure of any part of the actual importation. Press “Finish” to complete this step. On success, this new project will be added to the list of projects available to open.
FYI: It is possible to add poles to existing projects as well with the Import feature
Created with the Personal Edition of HelpNDoc: Easily create EPub books